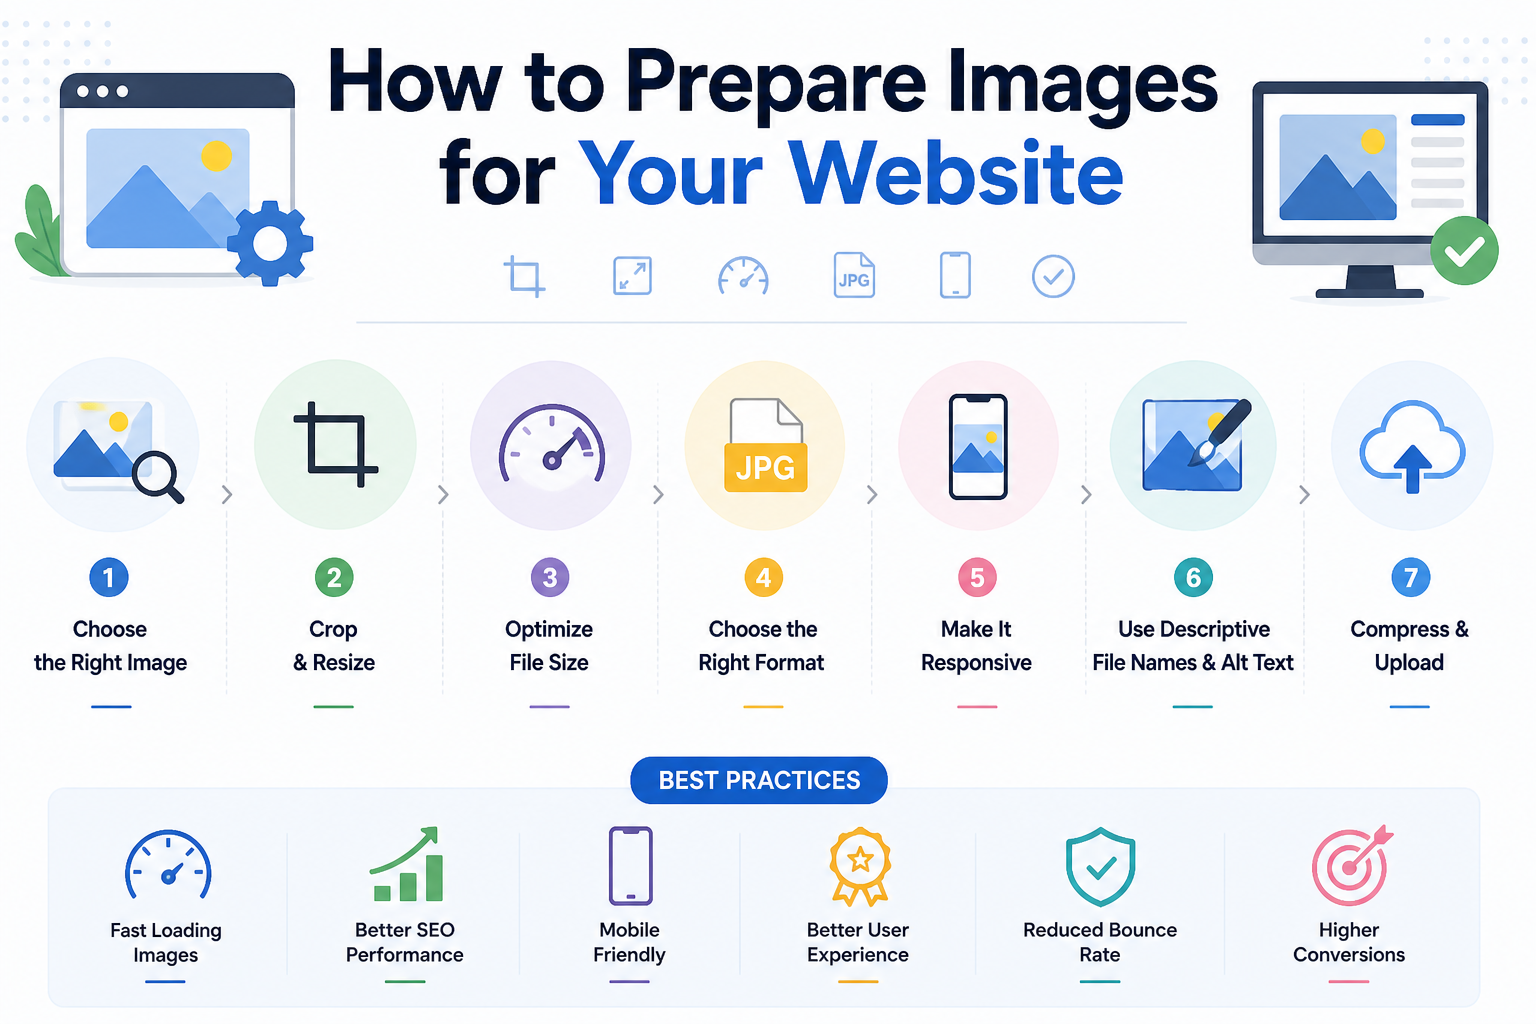
Images are among the most impactful elements on any website — they grab attention, communicate visually, and tell your brand story. But poorly prepared images can tank your page speed, hurt your SEO, and frustrate mobile users.
Follow this step-by-step workflow to prepare your images correctly every time.
Step 1: Start with the Right Source File
Begin with the highest quality version of your image available — the original photo from your camera, the original export from your design tool, or the full-resolution asset.
Never start with an already-compressed JPG if you can avoid it. Re-compressing a JPG introduces additional quality loss (generation loss). Always start from the original.
Step 2: Resize to the Right Dimensions
Determine where the image will be displayed on your website and resize it to match. Common targets:
- Hero/banner images: 1200–1920px wide
- Blog post images: 800–1200px wide
- Thumbnails and card images: 300–600px wide
- Product images: 600–1200px wide (square aspect ratio common)
Serving a 4000px image for a 800px slot wastes 25x the bandwidth. Resize first.
Step 3: Choose the Right Format
Match the format to your image type:
- Photographs → WebP (best) or JPG (for universal compatibility)
- Logos and icons → PNG (or SVG if vector-based)
- UI screenshots → PNG
- Any image on a modern website → Consider AVIF for maximum compression
Step 4: Convert to the Right Format
If you’re starting with a JPG or PNG, convert it to WebP for web delivery. This single step alone can reduce image file sizes by 25–35% with no visible quality loss. Use SimpleImageConverter.in to convert PNG or JPG to WebP (or AVIF) for free, right in your browser.
Step 5: Set the Right Quality
For JPG and WebP output, the quality setting matters:
- 85–92%: Ideal for most web images — excellent quality, significant size reduction
- 75–84%: Good for thumbnails and smaller preview images
- Below 75%: Only for very small thumbnails where file size is the absolute priority
Step 6: Check the File Size
After conversion, check the output file size. A rough target for web images:
- Hero images: under 200KB
- Blog images: under 100KB
- Thumbnails: under 30KB
If your image is larger than these targets, consider dropping the quality setting slightly or resizing down.
Step 7: Name Files Correctly
Descriptive file names help with SEO. Use descriptive, hyphenated names rather than defaults like IMG_4523.jpg:
- Good: organic-coffee-beans-dark-roast.webp
- Bad: image001.jpg or IMG_4523.jpg
Step 8: Add Alt Text When Uploading
Alt text describes the image for screen readers and search engines. Write descriptive alt text for every image you upload — it improves accessibility and contributes to image search rankings.
Putting It All Together
This workflow — start from original, resize, choose format, convert, compress, name correctly, add alt text — sounds like a lot. But once you’ve done it a few times, it becomes second nature. And the payoff is significant: faster pages, better SEO, and a better experience for your visitors.
👉 Convert and compress your images for free — no signup, no upload to servers, completely private. Try it free at SimpleImageConverter.in
Ready to get started? Visit SimpleImageConverter.in and convert your images in seconds.