If you’ve ever saved an image and wondered whether to pick PNG or JPG, you’re not alone. These two formats dominate the web, and choosing the wrong one can mean bloated file sizes or images that look worse than they should.
What is JPG (JPEG)?
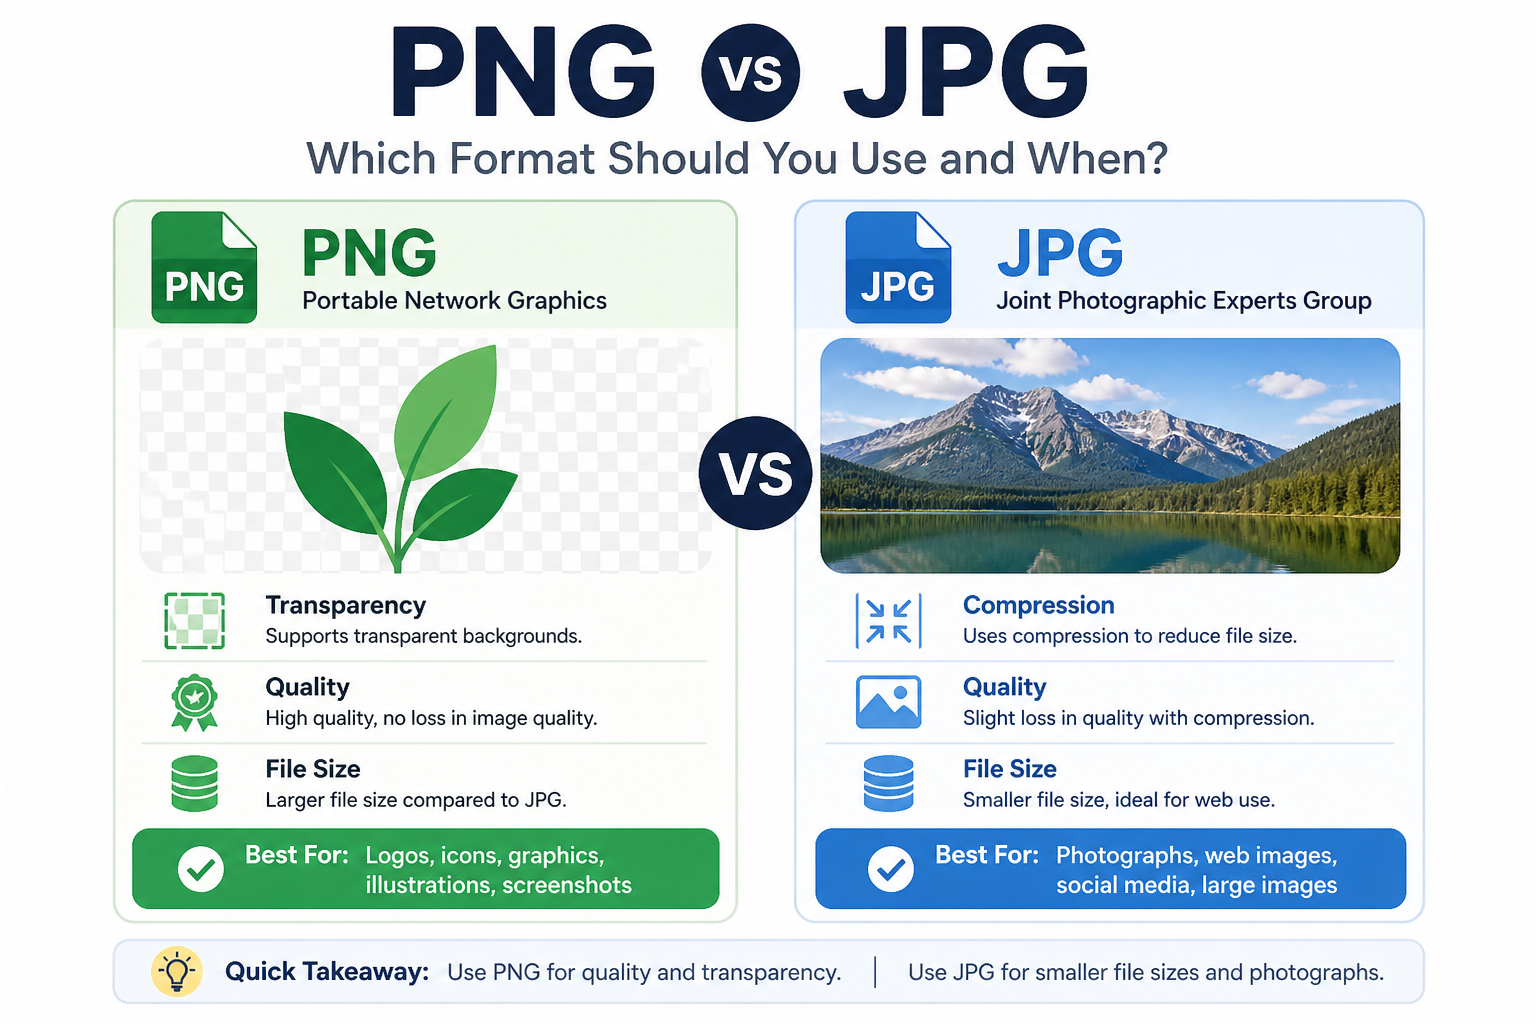
JPG — short for JPEG (Joint Photographic Experts Group) — is a lossy image format. That means every time you save a JPG, some image data is discarded to reduce file size. The more you compress, the smaller the file — but also the more quality you lose.
JPG is best for:
- Photographs and real-world images with lots of colour gradients
- Social media posts, blog images, and web galleries
- Any image where a slightly smaller size matters more than pixel-perfect quality
What is PNG?
PNG (Portable Network Graphics) is a lossless format. No data is thrown away when saving, which means image quality is preserved exactly. PNGs also support transparency (alpha channels), making them perfect for logos, icons, and overlays.
PNG is best for:
- Logos, icons, and graphics with flat colours or sharp edges
- Screenshots and UI mockups
- Images that need a transparent background
- Any image that will be edited further (to avoid quality loss accumulating over saves)
Key Differences at a Glance
- File size: JPG is almost always smaller than PNG for photos
- Quality: PNG is lossless; JPG loses quality every time you save
- Transparency: Only PNG supports transparent backgrounds
- Best for: JPG → photos; PNG → graphics, logos, screenshots
When Should You Convert Between Them?
Sometimes you receive an image in one format but need it in another:
- Got a PNG photo that’s too large to email? Convert it to JPG to shrink the file size.
- Have a JPG logo that shows a white box instead of transparent? Convert it to PNG — though note that converting JPG → PNG cannot recover transparency that was already lost.
- Preparing images for a website? Use JPG for photos, PNG for UI graphics.
👉 Convert between PNG and JPG instantly in your browser — no upload needed. Try it free at SimpleImageConverter.in
A Quick Tip on Quality Settings
When converting to JPG, quality settings matter. For most web use, 85–92% quality is the sweet spot — the image looks nearly identical to the original but takes up significantly less space. Drop to 75–80% for thumbnails or social previews. Only use 100% when archiving or printing.
Now that you know which format suits your needs, converting between them is just one click away.